
In the previous post, we introduced you to the basics and purpose of recoating. The recoating process is important for wood floor maintenance; however, do not expect that recoating will fix the deep scratches in the floor.
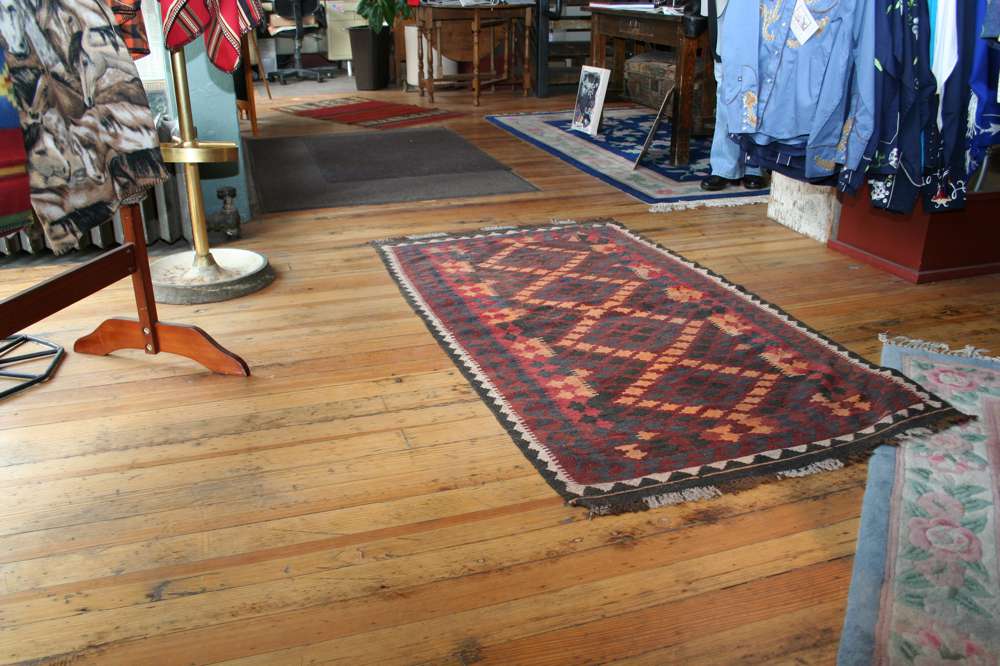
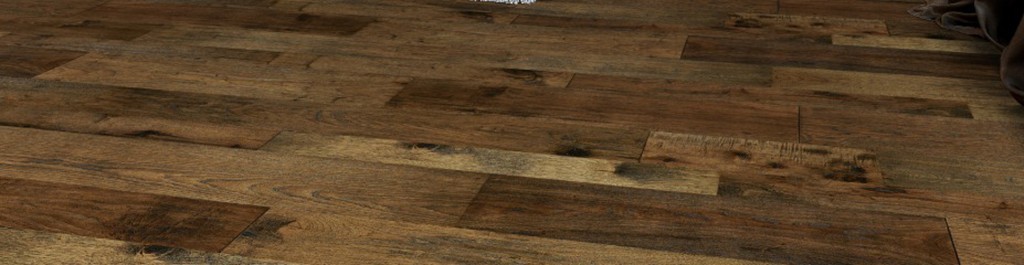
If your wood floor is starting to lose its luster, you might think the solution is simply to re-sand to raw wood and recoat it, but that may not always be the case. Every time you re-sand down to bare wood (possible on hardwood floors only), you lose some of the wood.
Know your wood floor finish
For the purpose of recoating, the type of wood does not matter – it is the finish that does. So, it is important that you know the existing finish – is it oil, wax, or something else? Some finishes require a specific procedure, while some polyurethane finishes won’t stick to the previous finish.
The Testing Process
To avoid a mistake of gigantic proportions, always do a test: choose two small areas, one with a high traffic frequency and other in a closet or near a wall. The recoat test will show if the adhesion and finish are compatible with the floor.
There’s high probability that the finish won’t work on older waxed floors. In that case, completely re-sanding it and applying a new finish might work better.
Before applying a new coat onto the test area, clean the area thoroughly with a strong wood-floor cleaner or water and ammonia. Build-ups of cleaning products or furniture polish leave an invisible residue to the surface and will impact the outcome.
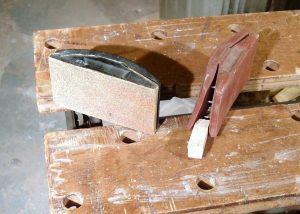
Sanding wood is harder than you think. Better call in the experts.
Then, lightly re-sand the surface of the testing area and clean all the dust from it and the surrounding area. Finally, apply the coating and let it dry for up to 24 hours.
To Recoat or Not to Recoat
After the 24 hours are up, it’s time to check the result. One way is to take a coin and try to make a dent on the area with moderate pressure (not too hard; no wood is immune to high edge pressure) and see if it leaves a mark on the new polyurethane layer finish. If it smooth and does not scrape off from the edges, consider the test successful.
Once you’ve done the test and it is proved successful, do all the steps from above on the entire area cautiously (Cleaning – Resanding – Dust-Cleaning – Recoating). A good test does not guarantee perfect result on the whole flooring, though. There might be still some stubborn residues of maintenance products left.
This process takes a lot of time and can be tricky to achieve, so let the experts do their job without a mess and call for a free consultation today!